

Disclosure: Some of the links below are affiliate links, meaning, at no additional cost to you, I will earn a commission if you click through and make a purchase.
You guys! I've been SO EXCITED to share this makeover project with you! Since we had a long Thanksgiving break, I took it upon myself to tackle this embarrassingly cluttered walk-in closet.
BEFORE

It is hard to tell from the photo, but this is actually a very deep closet. It was impossible to find anything in there though as it was used as a catchall just off our kitchen. Our home has a ton of cabinet space, but no place for food storage so we had discussed turning this into a European style walk-in pantry for months. I'm notorious for purchasing something we already had because it was stuffed or hidden in the back of the largest cabinet we currently use. Surely you can relate :)
We started this project by emptying out the closet to see what we had to work with. It was even larger than we remembered and we realized the existing shelving wasn't level. You'll also notice the original flooring exposed that we decided not to cover when we were renovating to save time. The DIY life... I tell ya :)

We removed some of the existing shelving and came up with a more functional design.
Our plan was to level the existing shelving, add shelving on the two sides, and incorporate one large countertop height shelf at the bottom.
I prepped the space by painting everything - even the floor & ceiling using leftover paint from our previous year's renovation projects. The paint alone was such a dramatic transformation! After that, my husband got busy on adding shelving. Our oldest daughter loved helping measuring everything (in her Elsa dress, of course) :)

The only cost we had in this entire project were new brackets for the side shelving which totaled less than $20!

We picked ours up at the local lumber store and then I painted them. I love how they blend with the wall color. I knew I would be displaying some collections in this space and wanted them to be the focal point - not the brackets.
Below you can see the new shelving installed and the existing shelving leveled. My husband did a great job getting everything to line up perfectly.

After everything was painted, the fun part started :) I got to styling and adding my collections to warm up the space.

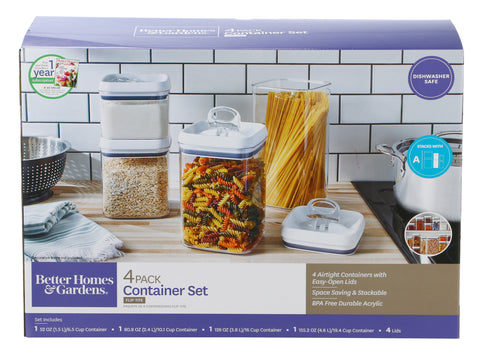
I love how visible and easily accessible everything is now from our kitchen. I already had the food storage containers from Walmart which worked perfectly. The Better Homes & Garden food storage line is seriously amazing - even dishwasher proof!
 |
|
 |
|
We used long screws to hang the heavy copper pots I found in Provence last May brocante shopping. Every time I look in the pantry now I am reminded of my husband haggling with the Frenchman selling them. That was such an amazing day in L'Isle-sur-la-Sorgue.

I also used these cup screws to hang my Denby USA mugs.
 |
 |
The small containers shown above were gifted to me by Botto™ which have such a unique design to keep food fresh. I love that they are space saving too!
From start to finish, this makeover took us about 1/2 a day. This project was on a total whim though so we worked on it off and on throughout the day. As with any project, it took a little longer because we have little ones too. The majority of the work happened while they were napping :) My husband also had to run to the lumber store to grab the brackets. If we had pre-planned and had the material ready and brackets in hand, this project could have easily taken an hour.
I'm in love with the results! It really looks like the European style pantry that we had envisioned. You can't beat less than $20 in material too! The wood was already in the closet before, we just repurposed and re-sized it to fit our new design.
AFTER

I would love to hear your thoughts below on this project! Have you considered tackling your own pantry makeover? It's amazing what a little paint and pretty storage containers will do to help achieve an organized and functional space!
As always, thanks for stopping by the blog!
Xx,
Amy